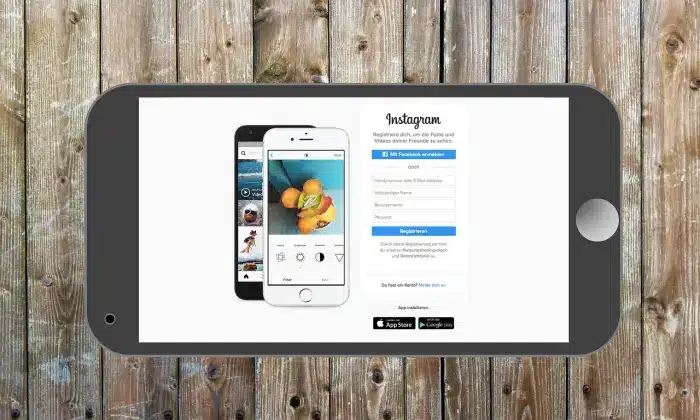
Instagram includes a lot of features, but it still doesn’t have any official way to post on Instagram from your Desktop (PC or Mac). But there can be ways for doing so if you get a little creative. It will provide you more flexibility for uploading such as edited videos and pictures. You don’t have to upload them onto your phone first.
How to post on Instagram by using a desktop
There awesome ways of posting videos/pictures on Instagram from your desktop. It depends on which operating system you are using.
Below you will find different methods to post on Instagram using your PC or Mac.
By Using Hootsuite
Hootsuite offers you to post on Instagram from your PC or Mac and in a very simple way. You can post on Instagram by using Hootsuite in a few steps:
#1. Log in to your Hootsuite dashboard. If you don’t have an account, you can create it for free.
#2. From the dashboard, click on the green New Post button at the top.
#3. The New Post window will pop up. Below Post to, select the Instagram account to post your content. If the account is not added yet, click +Add a social network in the box and follow the instructions.
#4. Drop the video or image to be posted on Instagram in the Media section. You cannot post multiple images on Hootsuite at the moment. After this, add a caption in the Text section as well as any hashtags you want to use. You can also add a location at the bottom as well.
#5. After you have crafted your post, watch it for errors. When everything is good to post, click the Post Now button at the bottom.
That’s it for posting on Instagram via Hootsuite.
Read: How To Increase Instagram Followers Instantly
By Changing Browser User-Agent
It is probably the simplest way to post on Instagram from a PC or Mac. It does not require any third-party site or download and is completely free as well. However, this method is very basic, and it doesn’t work with video files or gallery posts. But still for uploading the photos immediately one can go for this method.
How to post on Instagram from a PC
To post on Instagram from a PC, you must have Google Chrome. If you don’t have one, you can download it for free.
Once you have it, follow these simple steps:
#1. Open your Chrome browser and go to www.instagram.com
#2. Go to settings of your browser on the right side by tapping the three dots. Now, click on more tools then Developer’s tools.
#3. Now, you will see the developer window for Chrome.
#4. This window allows developers to test and debug their apps and websites – but we will use it for Instagram. Click the mobile button.
#5. Then you have to select the mobile interface you want to use under the dropdown window.
#6. After choosing a mobile interface, refresh the page. Now, you can see the mobile interface on your browser. Now, you can post on Instagram from your desktop.
Read: How To Get Sponsored On Instagram?
How to post on Instagram from a Mac
For posting on Instagram from a Mac, one can use Google Chrome as discussed above. You can also use Mac’s default browser Safari.
Once you open it follow these simple steps:
#1. On your Safari browser go to Instagram.com.
#2. Go to the Preferences menu and click on Advanced.
#3. In the menu check the box next to Show Develop menu in the menu bar.
#4. The Develop menu will be shown at the top menu bar. Now, click User Agent, then choose the mobile interface you want to see. It must populate with the latest iPhone iOS.
#5. The web page will refresh after your choice. Now, you will be able to upload posts on Instagram from your Mac.
By Using Scheduling Tools
To post on Instagram from PC or Mac by using a scheduling tool is a simple task. It offers similar features to the instant services given below, but also allows you to bulks schedule and upload your videos and photos to post in the future.
Hopper HQ
You can post photos and videos to Instagram using Hopper HQ from your desktop with ease. You can choose between sending them instantly or scheduling them for the future. Here’s the way it works:
Make an account with Hopper HQ and log into your dashboard. Now, you have all of your current scheduled posts in the order they are going to publish. Also, with the Grid Planner, you are able to see your scheduled posts on your Instagram profile.
#1. Click on ‘Create Posts’ in the top left corner. Now, through this window, you are able to upload 50 photos or videos at a time. To post on Instagram from a PC or Mac with Hopper HQ, you can upload files from your device, Google Drive, Dropbox, Google Photos, URL, or web search. It is very easy if you work collaboratively on cloud file sharing sites and post to Instagram from your desktop.
#2. If your images are not up to the size for Instagram, you would see an alert and taken to the photo editor. Now, you can crop your photo by using Hopper HQ’s easy pre-set dimensions for landscape and portrait photos. You can also apply filters or edits.
#3. Once the editing is done, you are able to write captions for your uploads as well as the first comments for your hashtags. Now, you will have the choice to ‘Post Now’, schedule a time, or save as a draft. If you want to post the same photo on another Instagram account, or even on Facebook or Twitter page, you can add accounts on the right-hand side of the post using the plus icon.
#4. Now, your photos and videos will be shown on the dashboard. Any changes can easily be made by dropping and dragging.
These are the methods that one can adopt when they want to post photos on Instagram with the help of a PC or Mac.
You might also like
How to View Private Instagram Account


