Taking a screenshot is one of the easiest ways to save time. There will be no need for an individual to engage in any downloading procedure at all.
Moreover, they can save everything on the screen just by taking a screenshot. However, the problem arises when users are using a laptop and feel like there is no way to take a screenshot on Windows 10.
If you are going through the same problem and feel like you cannot take screenshots on Windows 10, then there will be no need for you to worry about it. Here I’m sharing the methods through which you can do it easily.
Methods To Take Screenshots On Windows 10
Screenshot With Keys:
There is a method to take a screenshot with keys as well. All you need to do is just follow the variations we mentioned below. Within no time, you will be able to check whether it is working in your favor or not.
#1: Press the “Windows key + PrtScn“

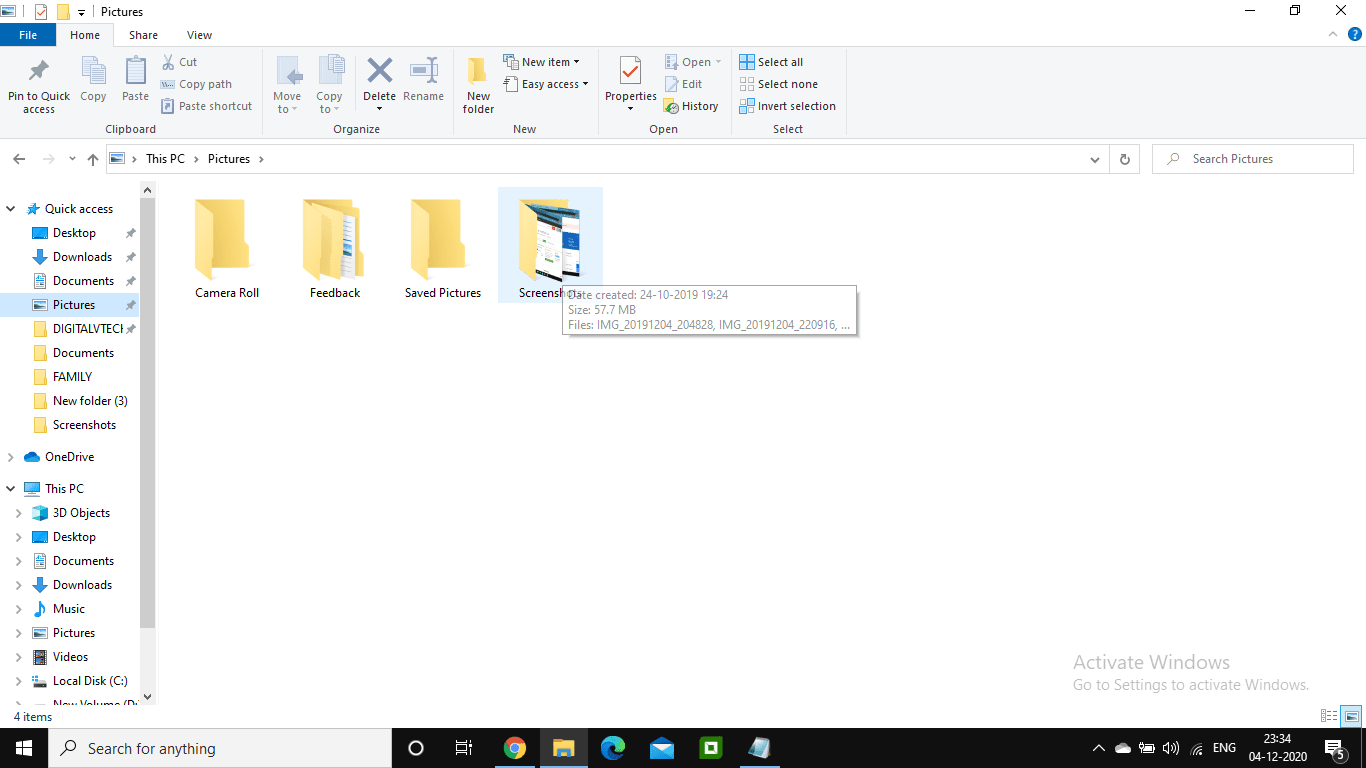
This combination will be going to save the entire screen as an image file. A user will be able to find the file in the pictures folder, and in it, there is a subfolder by the name screenshots. All you need to do is just check it out and get your file.
Read: How To Type a Degree ° Symbol?
#2: Press “PrtScn“
There is a key on your keyboard by this name, and it will help you to copy the entire screen to the clipboard. You can paste the screenshot at any destination. You can paste it into Microsoft Word Paint, and if you wish to share it through the message, you can do it as well.
#3: Press the “Windows key+Shift+S“

This combination will contribute to some differences. The screen right in front of you will get to them, and the pointer of the mouse will get changed. After that, you can select a portion which you need to capture. The screenshot will get copied to the clipboard. All you need to do is just paste it into another program. The screenshot will appear only in the selected portion. This combination will work if you have the latest version of Windows 10.
#4: Press “Alt+PrtScn“
This is another method as it will help you to take a screenshot of the active window, and then you can paste it anywhere in another program.
These are the simple combinations that a user can consider when they wish to take a screenshot on Windows 10. But some other tools are also there that help you to do it easily. If you have no idea, just have a look at all of them we are providing below.
How To Take A Screenshot With A Snipping Tool?

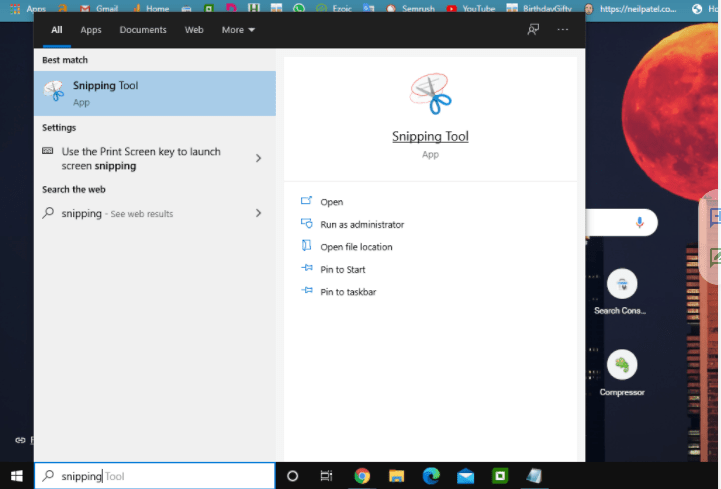
A user will be able to take screenshots on Windows 10 with the help of a snipping tool as well. It will save it as an image file, and without pasting the screenshot into another program, you will be able to find it. For the same, the steps are as mentioned below:-
- At the very first, you need to start the snipping tool available in the start menu.
- In the mode option, choose the kind of screenshot you want.
- After that, click on new, and the screen will freeze for a while use the mouse so that you can create the screenshot easily. It will be going to appear in the snipping tool window.
- Now, if you wish to include something additional like a tooltip that appears after the mouse movement only, then you need to specify how long to wait before taking the screenshot. This option is there in the delay menu.
- And if you want that you have to take a screenshot and wish to use it with drawing tools, the option is also there.
- After that, you need to click on done and save it on your computer.
- You can click the copy button and then the snipping tool window as well, and it appears like two pages laid over one another.
Conclusion
These are the basic methods that a user can consider whenever they wish to take a screenshot. They need to understand the procedure in detail because in case they are missing any of the steps, then it becomes difficult for them to take screenshots.
You might also like


