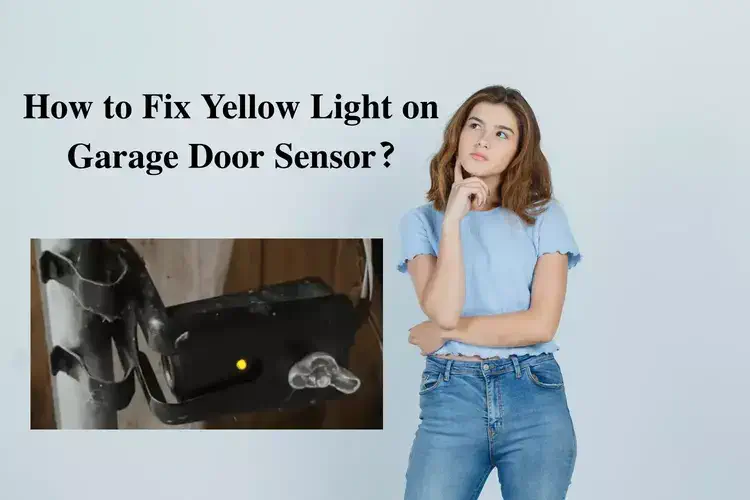
Your garage door sensor’s yellow light or the door itself could be affected by a number of factors. Even while it would appear that this is a difficult problem, it usually isn’t. The remedy is typically rather simple as long as you have a few simple ways to fix Yellow Light on Garage Door Sensor.
Learn How to Fix Yellow Light on Garage Door Sensor?
The steps listed below should help you fix any issues you have with your garage sensors:
Remove Anything that Interferes with Safety Sensors
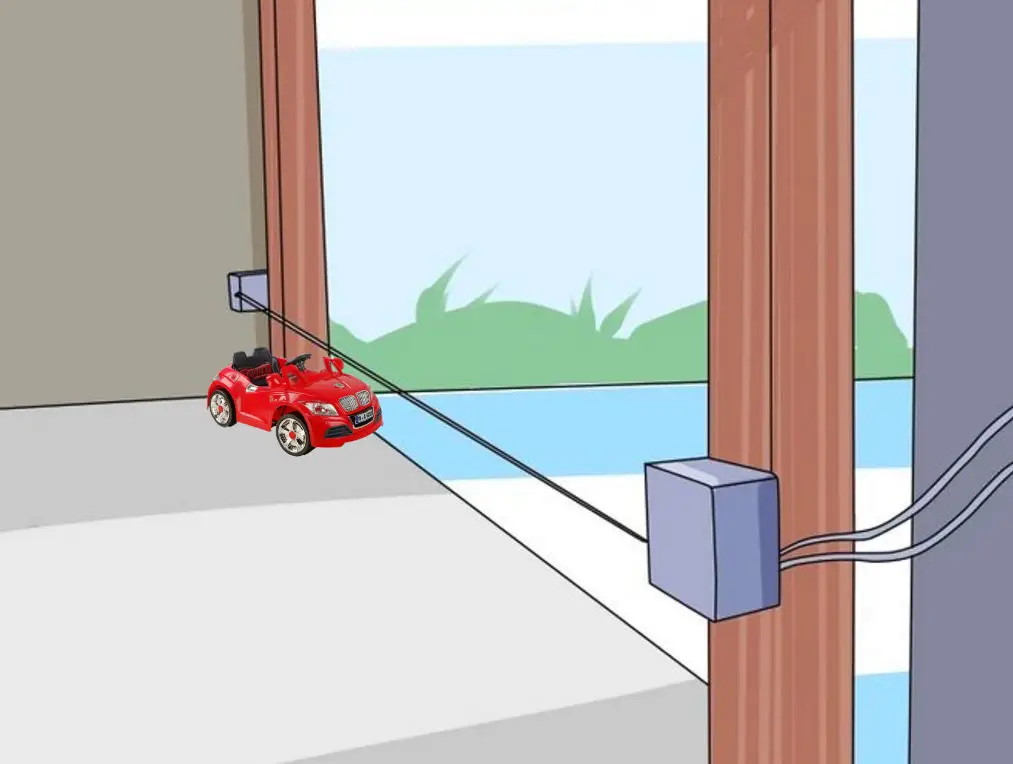
There is probably a problem with the safety sensors being blocked or being out of alignment if a green blinking opener light occurs. However, malfunctioning safety sensors and wiring can also make the lights on garage door openers flash.
In order to prevent the garage doors from closing, these sensors use an infrared beam of light to identify objects that are present in the space between them. The door will not close if something is in the way of these two sensors because it will block the infrared beam of light. Therefore, it is essential to get rid of everything that stands in their way.
Check the Wiring
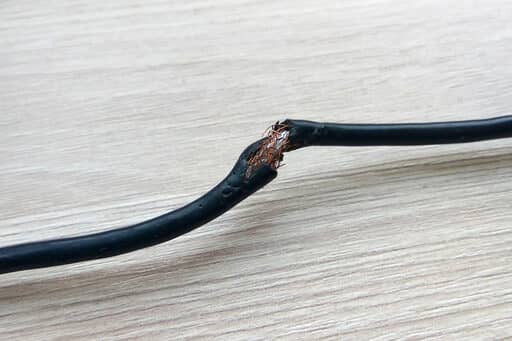
Your garage door opener should operate now that you have verified there are no obstacles and that both sensors are correctly positioned. If it still doesn’t, the wiring issue might be to blame.
The wires leading to both sensors should first be inspected. Look to see if any of the wires have come loose or if they have aged and wilted.
Make sure to shut off your garage door opener before reconnecting any wires if you do notice any that are disconnected.
You need to do this to prevent electrocution. On the other hand, you will need to repair these wires if they are worn out.
Problem With Sensor Alignment
If there is nothing obstructing the garage door sensors, the alignment issue is probably to blame. When the garage door sensors’ solid lighting is not visible, there is possibly a problem with the sensors being out of alignment. Fixing this problem is quite simple. You must first obtain a wrench and a tape measure. Using these tools, carry out the following:
Step 1:
Make sure your garage door sensors are at least 6 inches off the ground first. The precise height at which this garage sensor is situated should be measured and noted. for illustration, 6.55 inches.
Step 2:
Go to the second sensor next and take an accurate height reading. You will need to make adjustments if the height is not exactly the same as the other sensor.
Step 3:
Finally, to adjust the second sensor, just use the wrench to loosen the wing nut and raise the sensor to the same level as the first. for illustration, 6.55 inches.
Step 4:
After completing these instructions, the garage door opener ought to function normally and a beam of infrared light ought to emerge.
Step 5:
If the issue persists, the green light is blinking, and the yellow light is still on, you should explore alternative options.
Step 6:
by dirt or debris is one potential cause a spiderweb or other obstruction of the sensor lens by dirt or debris is one potential cause. If you see any dirt on the lens, just clean it, and you should be good to go.
Replacing Old Sensors
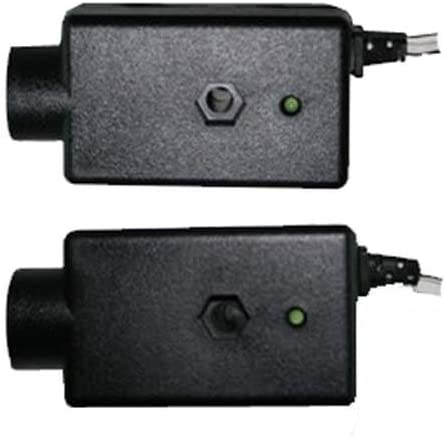
If the wiring is sound but your garage door opener is still not operating, it’s possible that one of the sensors is just not functioning properly. Age, normal wear and tear, or even prolonged exposure to sunlight can cause this.
The replacement of the safety sensors is a simple and largely straightforward task. You’ll need to replace your safety sensors as a first step.
These sensors are available from home improvement retailers. But make sure you read the instructions and get sensors that are compatible with your garage door opener. To update your sensors:
Step 1:
Unplug your garage door opener immediately.
Step 2:
After that, you need to from your garage door sensors use a wrench to remove the wing nuts from your garage door sensors.
Step 3:
Simply unplug the sensors and remove them.
Step 4:
After that, you need new sensors must now be attached to the same location. And then, you need to ensure that they are exactly the same height.
Step 5:
Finally, attach the sensors to the garage door by tightening the wing nuts on both of them with the tool.
Your garage door opener should operate normally now that the old sensors have been changed out for new ones. Here is also a nice video that will enable you to understand garage sensors better and how to detect problems.
Customer Support
Naturally, this depends on the model of garage door opener you own, but if you’ve tried everything and your garage door is still faulty, I would call the professionals.
The support number for your opener is nearly typically printed on the overhead control box. It might need to be opened in order to reveal the number.
As an alternative, you can just search “support” after the brand name of your opener on Google to locate the number.
Final Words
As we previously stated, safety sensors are a requirement for all garage door openers to prevent mishaps. It is crucial that they function properly as a result.
Two sensors are present, one of which acts as a transmitter and the other as a receiver. The green LED light on one sensor contrasts with the yellow LED light on the other.
If the green LED light starts to flash, there is a garage door sensor issue that needs to be fixed. In this post, you may learn why this issue arises, what it means, and how to resolve it.
We sincerely hope that this article has been useful to you. If you have any more inquiries, please feel free to leave a comment below.
You may also like:
6 Best Universal Remotes for Amazon Firestick

